
Let’s see how to grow Bitter Gourd at Home. Bitter Gourd, also known as Karela in Hindi, is a nutritious addition to any home garden. This guide will take you through the step-by-step process of growing Bitter Gourd on your terrace or balcony.
Introduction to Bitter Gourd and How to Grow Bitter Gourd at Home
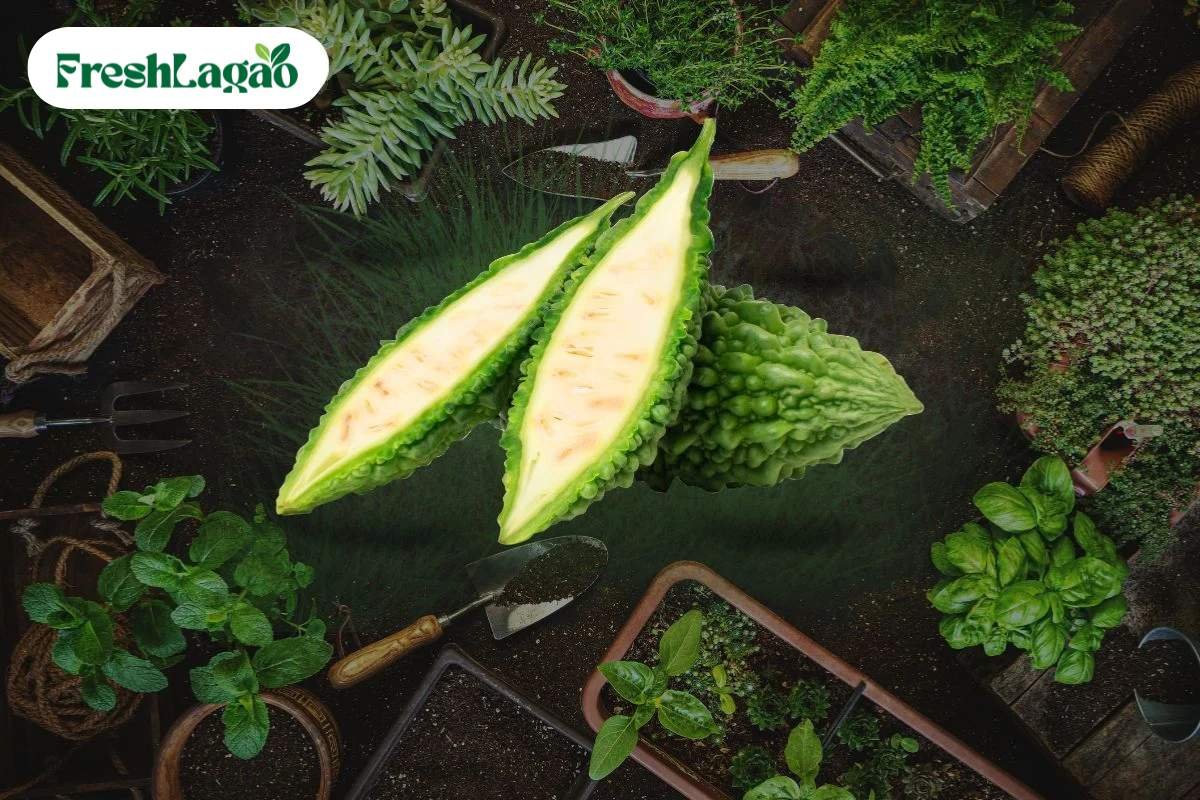
Bitter Gourd (Momordica charantia), commonly called Karela, is a tropical and subtropical vine known for its distinctive bitter taste and medicinal properties. Popular in Indian, Asian, and African cuisines, it is packed with vitamins and minerals, including Vitamin C, Vitamin A, potassium, and dietary fiber.
Why Grow Bitter Gourd at Home?
- Organic and Fresh: Homegrown Karela ensures chemical-free produce.
- Therapeutic Gardening Experience: Gardening is a stress-relieving and fulfilling hobby.
- Continuous Harvesting: With proper care, you can enjoy multiple harvests from a single plant.
Step 1: Preparing for Planting
Choosing the Right Container
- Select a container at least 12-18 inches deep and wide.
- HDPE grow bags or large pots with drainage holes work best.
Preparing the Potting Mix
- 40% Garden Soil
- 30% Coco Peat or Vermiculite for moisture retention
- 20% Compost or Vermicompost for nutrients
- 10% Sand for aeration
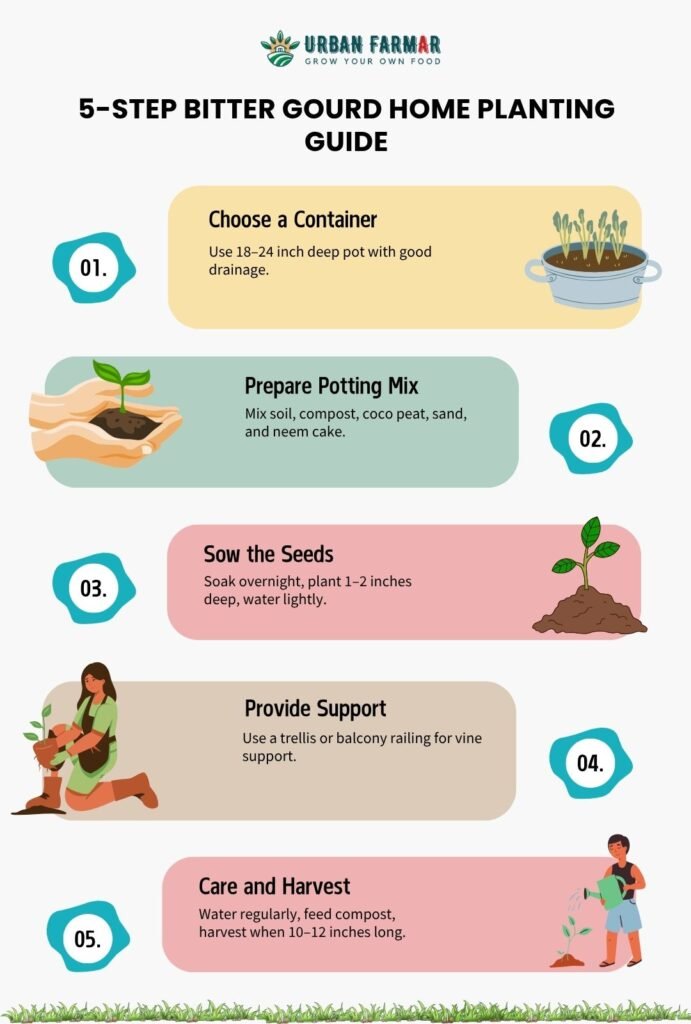
Step 2: Sowing the Seeds
- Soak Bitter Gourd seeds in water overnight to enhance germination.
- Plant seeds 1 inch deep in the soil and cover lightly.
- Place the container in a warm, sunny spot with temperatures around 25-30°C.
Step 3: Germination and Early Care
Germination Timeline
- Seeds typically germinate within 7-10 days.
- Keep the soil moist but not waterlogged.
After Germination Care
- Once seedlings emerge, provide 6-8 hours of sunlight daily.
- Thin out weak seedlings to maintain strong growth.
Step 4: Supporting the Vines
Bitter Gourd is a climbing vine that needs support. Use a sturdy trellis or mesh frame for the plant to climb, allowing proper airflow and easy harvesting.
Step 5: Ongoing Care and Maintenance
Watering and Fertilization
- Water regularly but avoid waterlogging.
- Use an organic liquid fertilizer every 2 weeks.
Pruning
- Trim excessive side shoots to encourage fruiting.
- Remove yellowing leaves and weak branches.
Step 6: Pest and Disease Management
Common Pests and Solutions
- Aphids and Whiteflies: Spray neem oil every 7-10 days.
- Powdery Mildew: Ensure good airflow and avoid overhead watering.
Step 7: Harvesting Bitter Gourd
- Bitter Gourds are ready to harvest in 60-70 days.
- Harvest when the fruit is firm, green, and about 4-6 inches long.
FAQs About Growing Bitter Gourd
Why are my Bitter Gourd leaves turning yellow?
Overwatering or nutrient deficiency.
Can Bitter Gourd be grown indoors?
Yes, if adequate sunlight is provided.
Why are my Bitter Gourds bitterer than usual?
Irregular watering or harvesting too late.
Conclusion
So, that’s pretty much how to grow bitter gourd at home without much fuss. Yeah, it might take a lil patience and care, but trust me, once you see those green gourds hangin’ on the vine, it feels totally worth it. Just keep it simple, stay consistent, and don’t worry if things don’t go perfect first time. Happy gardening!